DIY Emergency Food Preservation: A Safety-First Method Guide
Choose safe home food preservation methods for an emergency pantry, including tested canning recipes, freezing, dehydrating, labeling, storage, and inspection.
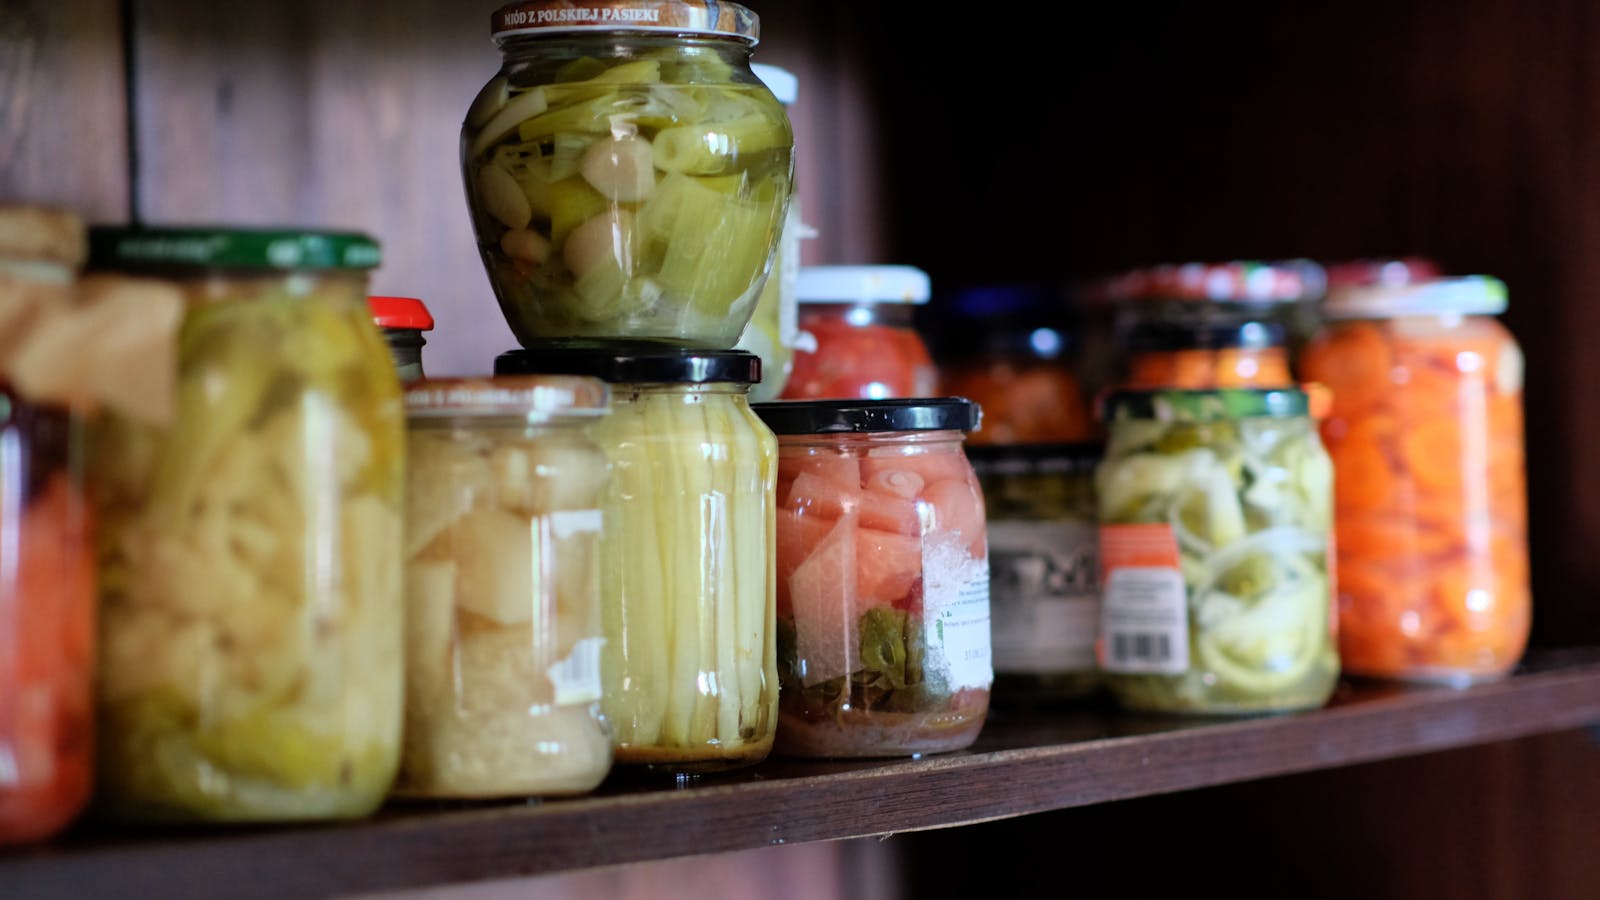
Home preservation can reduce seasonal waste and add familiar food to an emergency pantry. It can also create a serious food-safety hazard when a recipe, process, or piece of equipment is improvised. The safe starting rule is simple: choose the preservation method from a current research-based recipe, then follow every processing detail exactly.
Build the everyday shelf-stable pantry first with emergency food storage basics. Home-preserved food should add tested, labeled options to that system, not become an experiment you must trust during an outage.
Use an approved source, not a viral recipe
The National Center for Home Food Preservation canning index provides research-based instructions and recipes. The USDA Complete Guide to Home Canning and current state cooperative extension publications are also appropriate sources when they reproduce tested processes.
A safe canning recipe specifies all of the following:
- exact ingredients and preparation
- jar size and headspace
- hot-pack or raw-pack method where applicable
- boiling-water or pressure-canning method
- processing time
- pressure and canner type where applicable
- altitude adjustment
Do not combine instructions from several recipes. Do not change the jar size, thickeners, proportions of low-acid ingredients, or processing time unless the tested source explicitly permits the change. If a source does not provide a tested process for the food, freeze, refrigerate, dry under tested guidance, or prepare it fresh instead of inventing a shelf-stable method.
Match the method to the food
Boiling-water canning
Tested recipes use boiling-water canning for sufficiently acidic foods, including specified fruit, pickled products, jams, jellies, and acidified tomato recipes. Acidity, ingredient proportions, jar size, and altitude all affect the published process. A food tasting tart is not proof that a boiling-water process is safe.
Pressure canning
Low-acid foods such as plain vegetables, meat, poultry, seafood, and mixtures containing them generally require a tested pressure-canning process. A pressure canner reaches temperatures that boiling water cannot. A small pressure cooker is not automatically a substitute; use equipment that meets the tested recipe’s requirements.
“When in doubt, pressure can it” is not a safe rule. Pressure canning still requires a tested recipe for that exact food and jar size. If no process exists, do not improvise one.
Freezing
Freezing is often the lowest-complexity way to preserve produce and cooked food, but it depends on continuous power. Follow NCHFP freezing guidance for preparation, blanching when required, packaging, and quality. Freezing pauses microbial growth but does not sterilize food.
An emergency plan that relies on a freezer also needs appliance thermometers and an outage decision plan. FoodSafety.gov says a closed full freezer holds a safe temperature for about 48 hours, or about 24 hours if half full. Use the official chart rather than taste, appearance, or smell to evaluate thawed food.
Dehydrating
Drying removes moisture and reduces weight, but different foods need different preparation, temperature, drying time, conditioning, and storage. Follow NCHFP drying guidance for the exact food.
Dry only sound produce or other foods covered by reliable guidance. Arrange pieces as directed, dry until the recommended end point, cool before packing, and watch for condensation after packaging. Moisture in a storage container is a warning that the food was not dry enough or has picked up moisture.
Home dehydration does not make every food shelf stable. Meat jerky, dairy, eggs, oily foods, and complete meals require especially careful research-based processes. Do not assume a consumer dehydrator can reproduce a commercial freeze-drying process.
Build a safe canning workflow
1. Select the recipe before harvesting or shopping
Confirm that the recipe is current, uses equipment you own, includes your elevation, and produces a food your household will eat. Read the entire process before starting.
2. Inspect equipment and supplies
Use recommended canning jars, new lids as directed by the lid manufacturer, sound rings, jar lifters, and the correct canner. Check jars for cracks and chips. For dial-gauge pressure canners, follow the manufacturer and local extension guidance for inspection and accuracy checks.
3. Prepare one tested batch
Keep the recipe visible. Measure ingredients and use the named preparation, pack, headspace, jar size, venting procedure, pressure, time, and altitude adjustment. Do not shorten a process because jars sealed quickly.
4. Cool and check according to the recipe
Leave jars undisturbed for the period specified by the trusted source. Check seals using its instructions. A sealed lid does not prove that an untested recipe or incorrect process was safe.
5. Label and store
Label each jar with the food, recipe source, batch date, and any information needed to trace the batch. Store clean jars in a cool, dark, dry location as recommended by the source. Do not stack or handle them in a way that hides a failed seal.
Inspect without tasting
Before opening a home-canned jar, look for an unsealed, bulging, leaking, or damaged container; spurting liquid; rising bubbles; or an abnormal appearance or odor after opening. Never taste a questionable food.
The absence of an odd smell is not proof of safety. The toxin that causes botulism cannot be reliably detected by sight, smell, or taste. Follow the NCHFP spoiled food guidance for handling and disposal, and seek medical care promptly if botulism is suspected.
Keep preservation records
A small batch log makes rotation and troubleshooting easier:
| Field | What to record |
|---|---|
| Product | exact recipe name and source URL or publication |
| Batch | date, quantity, and jar or package size |
| Process | method, time, pressure, and altitude adjustment from recipe |
| Storage | location and inspection notes |
| Use | date opened and household quality notes |
If several jars from a batch show a problem, the log keeps the rest of that batch identifiable.
Decide whether preservation improves the emergency menu
Add the finished food to the two-week emergency menu and ask:
- Can it be opened without electricity?
- Does it require cooking water or long fuel use?
- Can the whole container be used without unsafe leftovers?
- Does it provide a useful meal component?
- Will it be rotated before quality declines?
Use the food storage calculator to estimate the wider supply, but count only finished, labeled food you can confidently use. Dry bulk packaging is a different process covered in the long-term food storage methods guide.
A safe first project
For a first preservation project, contact your county cooperative extension office or take a current, hands-on class. Choose one tested recipe with readily available ingredients, complete a small batch, document it, and serve it during normal conditions. Learn one process before buying large quantities of equipment or food.
Choose one current NCHFP, USDA, or cooperative-extension recipe, verify the exact elevation and equipment it requires, and complete one small documented batch before buying food or equipment in bulk.
Primary safety sources
Keep this guide handy
Copy the page address to save it or send it to someone in your household.